Åre Sportshop
Åre Sportshop in Undersåker offers anything from a well-stocked shop to ski coaching. Alpine, cross-country, cycling & more!

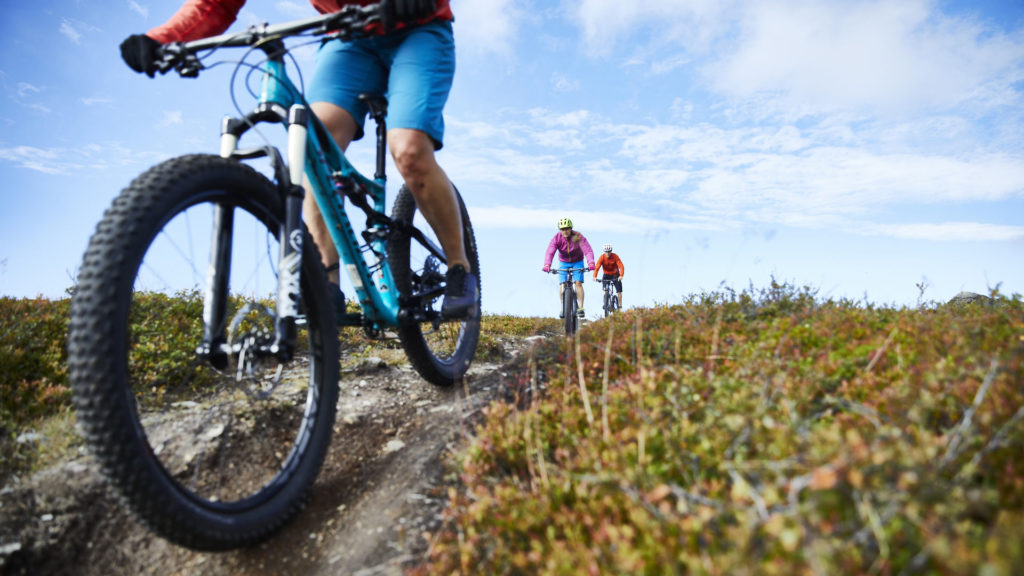
Photo: Jonas Kullman
If you don’t have the technique, you’ll only go so far. The basics are the same for all biking when it comes to jumping, cornering and positioning. Always start practicing the foundation on a flat surface. If you can’t take a curve on a gravel plane, you definitely won’t be able to do it in the park.
The best tip for getting started and improving your technique is to hire a guide and take a technique course. Downhill has a relatively fast development curve and a few hours with a guide will give you invaluable technique tips to take you further in biking.
During an intro course you’ll go through the basics on a flat surface and in a pump track, and then continue in the park with: position, how to move the bike, how to turn, having parallel feet and the correct braking technique. You’ll learn how to ride the lifts and which routes and paths are suitable. You can also book a technique course to get better at specific things such as jumping or curve techniques.
Generally a good tip is to slow down and think more about what you’re doing – practicing one thing at a time and to ride with those better than you that you get inspiration from. Exchange experiences and learn from each other!
If you’ve never biked downhill before, you may consider:
# Dress in rugged clothes (you’ll get dirty). Not too tight.
# Preferably longer pants, preferably over the knees.
# If you don’t have cycling shoes, take a pair of flat soled sneakers.
# Children must be able to handle the handbrake and be at least 120 cm long.
# Protection is always included if you rent a bike (gloves, helmet, goggles, body protection)
# Hire a guide!
Jumping tips in five steps:
It’s easy to head out in a jump with full speed in the start and hope for the best. But, if you do it right from the start, you’ll learn faster and feel safer. Here are our top five tips to practice while out in the park:
And last, but not least, if the beginning of the jump trail feels too difficult, choose another trail. The start is a benchmark to show what it takes to ride this particular trail.
You should be well prepared and feel safe with the speed. Always start slowly and increase a little at a time when you feel you’re in control.
Here you can learn how to do a bunny hop!
Bike
Buy your bike where you ride the most, then you’ll always get help if something fails or breaks. It’s often a good price to buy rental bikes and there are usually spare parts at home. If you don’t ride often, it’s preferable to rent a bike.
Shoes
Invest in a pair of good bike shoes. There’s a big difference between hard and torsional biking shoes compared to, for example, gym shoes. You’ll want a good grip on the pedals and your feet not to get tired.
Helmet
Always buy a new helmet for safety.
Protection
Upper body protection, elbow protection and leg protection are recommended to reduce the risk of injuries. Invest in comfortable protection.
Gloves
Are good to relieve the pressure under your hands and to protect if you fail.
NOTE: When you rent a bike; helmet, goggles, protection and gloves are always included.
In your backpack for a DH day:
Unwritten rules
Never pass anyone, keep a distance and wait for the right moment and don’t stress anyone. Don’t stop in the middle of a trail. Move to the side. Don’t ride into large jump trails such as Wingman unless you have the speed required.
Safety
If an accident occurs, the bike should be set upside down and be visible upwards. Call the Bike Park staff at +46 647 130 01 if anyone’s been injured. The Bike Park staff can also help guide you to the right / closest route if you’re lost or have a flat tire. Remember to take breaks during the day, it’s longer down the mountain than you think.
Read more about the rules and safety of the bike park.
Extras: Check out Åre Bike Festival on Facebook. Here are loads of pictures and films from the festivals over the years to be inspired by.
Show more companies
Show more companies
Show more companies
Show more companies
Show more companies
Show more companies
Show more companies
Show more companies
Show more companies
Show more companies
Show more companies
Last updated 9 March 2026